The Oregon trip went well. Spent good time with grandchildren, made a great start on the kayak project with my son, and got to visit with my other two children before returning to Michigan and Gardens.
Today was a 'travel recovery' day - unpacking, catching up with Jan, napping and generally taking it easy. Didn't even go out to the shop to see what's what.
Tomorrow soon enough.
Sunday, November 19, 2017
Tuesday, November 14, 2017
Change of Venue, Different Boat, Next Generation, New Skills
Based on some discussions with my son in August, we decided to build a skin-on-frame kayak. We picked Dave Gentry's Chuckanut 12s - a 12' stretch version of the Chuckanut 10 design.
So, here I am in Klamath Falls, Oregon for a 10-day build session. I arrived last Tuesday and we cleared out a space in the garage, ran some errands, bought some materials and supplies before beginning the actual work on the kayak on Friday.
Scott cutting stock for the chines and gunnels. Photo
Scott planing stock for the scarf joints. Photo
Gluing two chines at a time Photo
About half of the chines Photo
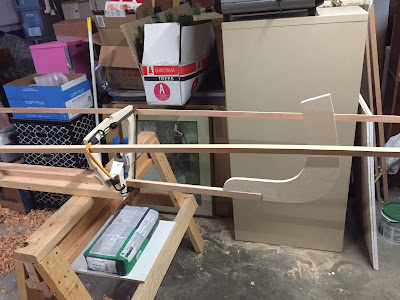
Strong-back, Frames 1 and 5, keel, and gunnels loosely tied in place Photo
Bow stem Photo
Improving shape with Frame 3 loosely in place Photo
Two more frames to cut out and fit, which will further improve the shape. Twist resulting from being "loosely tied" will be taken out when we lash the fuselage together.
This project is an opportunity for Scott and I to work on a project together (tough to do when we live so far apart). I am hoping to pass some woodworking skills on to him - and he is doing quite well with the block and smoothing planes.
Work on Gardens will resume when I return to Michigan this coming weekend.
Sunday, November 5, 2017
Mast Caps and and a Collar
Gardens' masts will sport caps, primarily as a decorative touch but also to better protect the wood end-grain at the top of each mast. The mizzenmast gets a collar, too. The caps are CVG DF and the collar for the mizzenmast is mahogany. A (rough) photo-essay of the process I used in creating the caps and the collar follows:
Eight segments with each end cut (on the table saw with a miter gauge) at 22.5°.
(Different) Segments assembled, glued (with thickened epoxy), and clamped.
Octagon blank ready for drilling (inside diameter begun), cutting (outside diameter), and sanding (all surfaces).
Top and bottom pieces of cap glued together with top piece cut/sanded to match outside diameter of bottom piece (could have used another photo or two here).
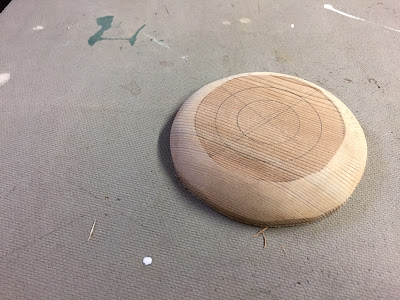
Top of cap will be sanded to "domish"/round-over shape. This is a practice piece.
Collar for the mizzenmast.
Collar and its base. The underside of the base is contoured to fit the aft deck.
Subscribe to:
Comments (Atom)


