Wednesday, April 17, 2013

Sanding, Materials, Parts and Supplies

The mizzen boom is nearing its final rounded shape. I knocked off the edges of yesterday's octagon, creating a roughly 16-sided shape. Then the question was, "How do I sand it round?" There are many answers to that question and good - but somewhat inconsistent - information is available on the WoodenBoat Forum. One of the more popular methods involves turning a belt sander belt inside out and powering it with a hole saw chucked into a cordless drill (sorry, that's the short version and not altogether clear). But, I experimented with that method when I built the oars for Karen Ann and I couldn't turn the sanding belt inside out… So, I decided to go lower tech with another sanding method described on WBF.

I cut a short length (about the length of a sheet of sandpaper) of 1½" PVC pipe in half lengthwise. Using double-backed tape, I taped a piece of 80 grit sandpaper to the inside of the PVC and began sanding the mizzen boom. This tool works well - and will work even better with coarser sandpaper for the initial sanding. Later I will work up to 150 grit paper to prepare the boom for varnish. For larger spars I'll use larger diameter PVC.


The blank for the boomkin is glued up and ready for milling.

Thinking about materials for the mizzen mast, I wasn't sure where I'd find 14' stock - without going back to LL Johnson for cvg DF - as the big box stores around here don't carry 1x stock in 14-foot lengths. When I built Karen Ann's mast I used pinus radiata (Monterrey Pine) ordered from the local contractors' lumber yard. This morning when I went in to order the Monterrey Pine, the counterman drew a blank. He just didn't know what I was talking about - and the guy who helped me previously wasn't in today. When I told the guy I'm building spars for my sailboat, he suggested I look at the clear white pine they have in the shed. I'm not sure what the differences are between Monterrey Pine and clear white pine, but the clear white pine is very nice, clear, not-quite-vertical grained. It comes in 10, 12, 14 and 16-foot lengths. I can use this for the mizzen mast and the main yard. I didn't have my roof racks on the Volvo so I'll have to pick up the lumber in the morning.

A quick trip to the Woodcraft Store in Grand Rapids resulted in new tires and guide blocks for the bandsaw, shop-vac fittings to use the dust port on the bandsaw and some tips for refurbishing my Stanley No. 5 Jack plane. I need the plane to be functional but not restored to as-new condition. So, it was a successful shopping trip. I'll get to work on the plane as I want to use it to work on the main mast next week.

Tomorrow will be another busy day: picking up lumber, installing the new tires on the band saw, sanding the mizzen boom (will pick up 50 or 60 grit sandpaper), gluing up the blank for the main yard and milling the boomkin.

Tuesday, April 16, 2013

Busy Day!

Today began with bright, clear, sunny skies and the promise of warmer temperatures. Also of note, the peepers in the pond are alive, well and loud!

At 8:00 AM the LL Johnson Lumber delivery truck arrived with the clear, vertical grain Douglas Fir and four sheets of 9mm Meranti plywood I ordered last Friday. The DF (two 20' long 1x6s ripped to 3½" along with the cut-offs) will become Gardens' main mast. The plywood will be used to build Gardens' interior.

The mizzen boom blank (38mm square), glued up yesterday, was planed to 32mm square, marked off with the spar gauge and then planed to an octagon. It was fun to use a tool - the spar gauge - that, in my mind, wasn't going to work for me. A few years ago I tried making a spar gauge and because it didn't work for me (trying to drill precisely spaced and vertical holes with a hand drill was a challenge), I was convinced a spar gauge was beyond me. Well, building one on Sunday and successfully using it today was very satisfying. I'll continue rounding the mizzen boom tomorrow.

I created the blank for the boomkin today. It is laminated from three pieces of 1x4 pinus radiata (sold in the big-box stores as "Select" grade lumber). Two pieces, each 19mm thick, sandwich a third piece milled to 10mm. This blank will be milled to 45mm x 75mm before the tapers are cut. The boomkin will then be shaped to its finished size and shape.

Depending on tomorrow's weather, I expect to get the main yard blank glued up in the morning, continue rounding the mizzen boom and mill the boomkin blank roughly to shape.

Monday, April 15, 2013

Spar Work

The main boom frame is glued up. Not much to tell as it went pretty smoothly - no spilled epoxy, no giant globs of goo where they shouldn't be (hey, I even put wax paper under the frame to keep from gluing it to the spar bench!), no known disasters…


The frame will be sanded and prepped for the plywood sides. The plywood sides will be fitted and glued tomorrow.

Risers were added to the bench to make gluing and clamping spar blanks easier.


The blank for the mizzen boom was glued up today. I used two 8' long 1x2s, which glued face-to-face create a 1.5" (38mm) square cross-sectioned blank. This will be planed, trimmed, shaped and rounded to a 6'10" spar 32mm in diameter.


And, to help turn the square blanks into round spars, I (with help) made a spar gauge.


The spar gauge will be put to use tomorrow to mark the lines to turn the four-sided blank into an octagon (on its way to becoming a round spar).

Monday, April 8, 2013

Mizzen Sail is Sewn

I spent the weekend visiting my daughter in Chicago. We got crafty and built a platform bed for her and began repainting two dressers. Saturday's 70° weather reminded me that spring is nearly here.

Back to Central Michigan and boat work...

The sewing part of building the sail is done! Sewing sail edges will always be a challenge for me: balancing and supporting the sail feeding into and out of the machine calls for creative solutions. Two people working together made this part of the project easier than what I experienced building Karen Ann's sail. All that is left to do is install the grommets and finish off the corners with a hot knife.

The boom frame will be glued tomorrow. Wednesday I'll trim any excess goo and fit the plywood sides. It will be interesting to see how the weight and stiffness of this boom compares to the other boom designs I've built.

The weather is warming which means I can resume work in the shop.

Wednesday, April 3, 2013

Sewing the Mizzen Sail

Over the weekend we read the SailRite instructions that came with the kit and watched the SailRite Tutorial Video on how to sew a sail.

Today we set up the sewing machine on the dining room table, sewed a few practice seams to get the tension set correctly and began sewing Gardens' mizzen sail!


This project is going so much smoother and easier than Karen Ann's 105 sq. ft. balance lug sail two years ago. Admittedly, the mizzen is only 26 sq. ft. so it is easier to maneuver and handle but my sewing is much improved, too.

I have one question to ask SailRite in the morning (didn't realize I had a question until after they closed for the day) and then I'll finish up the sail tomorrow.

Saturday, March 30, 2013

Starting the Boom

The spar bench has been topped with 16' of 3/8" plywood. This is adequate for the booms, yard and mizzen mast. An additional 4' of ply will be added before I build the main mast.


Dry fitting the top, bottom, plugs and spacers for the boom. Once I'm satisfied with the fit, I'll glue this assembly together and prepare the 9mm plywood sides (need to butt join the ply to the needed length).


Thursday, March 28, 2013

New Spar Bench

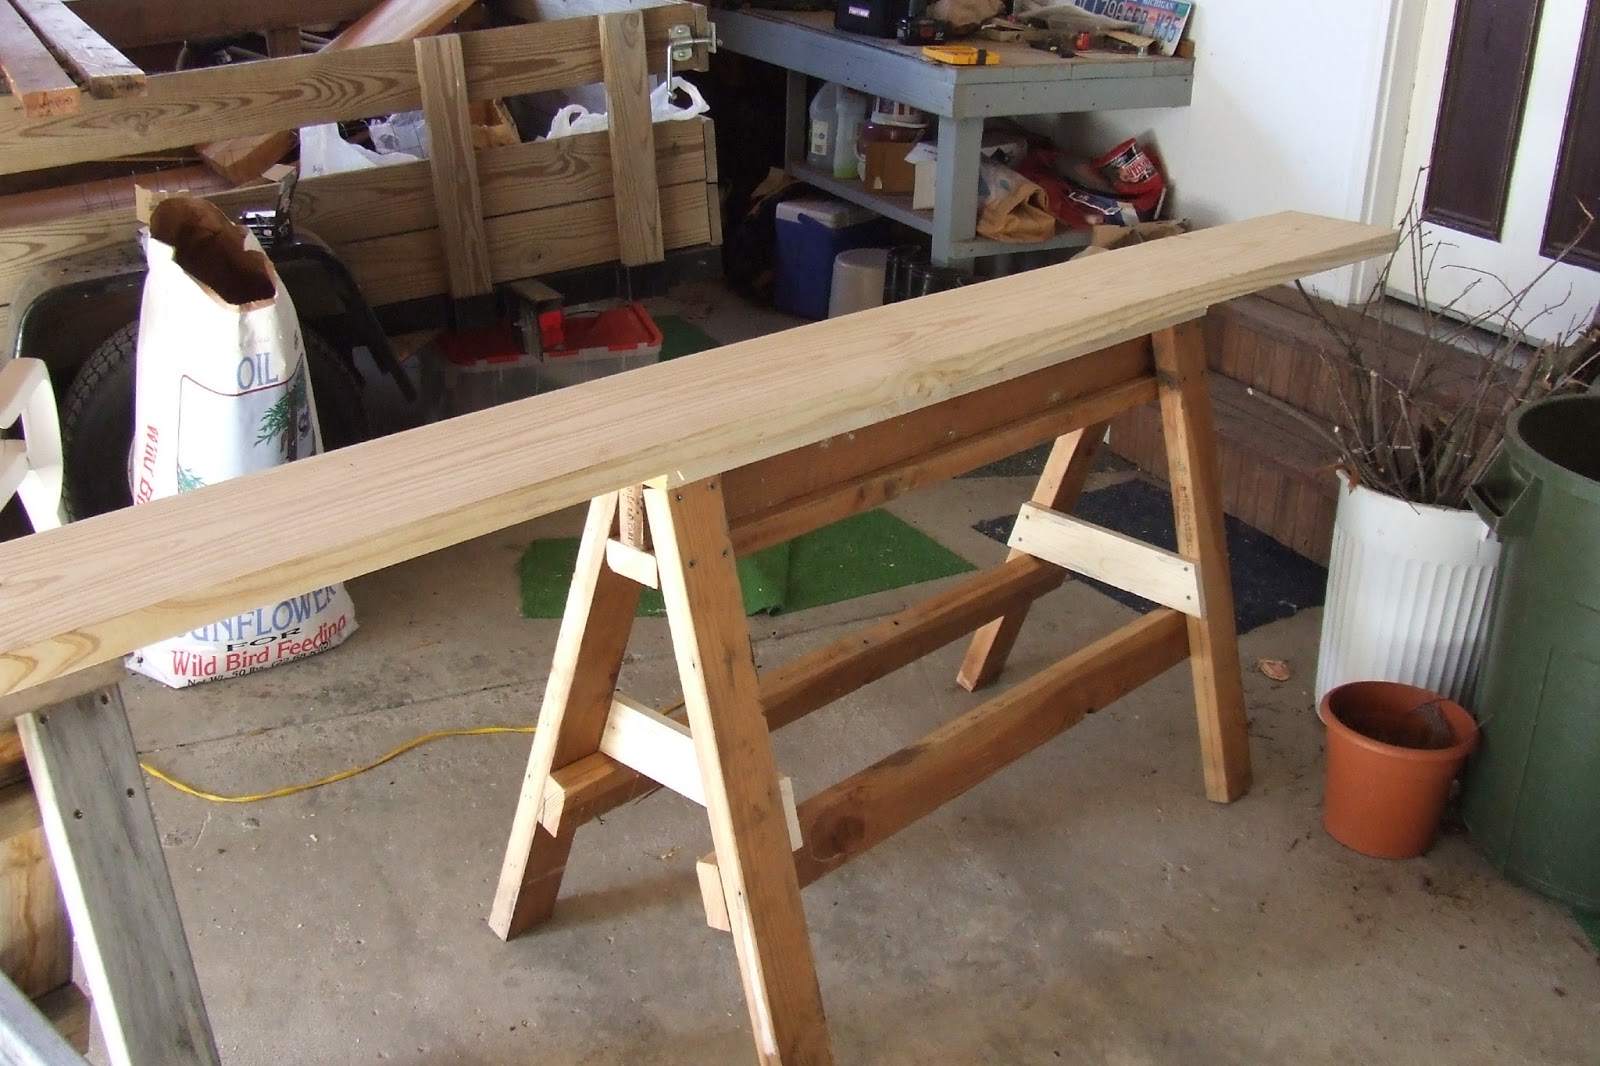
A new, temporary spar bench is needed because the first temporary spar bench - used to build the mast, boom and yard for Karen Ann, my Goat Island Skiff - has been repurposed and wasn't long enough for Gardens' mast anyway. So, a new, temporary spar bench is under construction.

The base: Three (what have become something de rigueur for GIS builders) saw horses spaced 2' apart. See plans and instructions here

The saw horses are topped with two 2x10x10' planks (end to end, centered on the middle sawhorse).


Tomorrow the planks will be shimmed to match end to end and edged with 1x4s. Then topped with two layers of ply (3/8" because that's what I have on hand, and 3/4") 16" wide.

Actual assembly of the boom should begin tomorrow!