This year's sailing vacation at McKay Bay in Les Cheneaux Islands on Michigan's Upper Peninsula was a success.
Monday's (8/22) four-hour drive north to the UP was uneventful... Clear skies, plenty of sunshine, and not much traffic. I was a bit anxious about that trip because Gardens sat on her trailer in the barn for two years without moving. I greased the bearings and checked the tires before leaving but I was nervous about the drive. Thirty minutes into the trip I stopped to check the bearings: cool to the touch. My anxiety disappeared and the rest of the drive was fun.
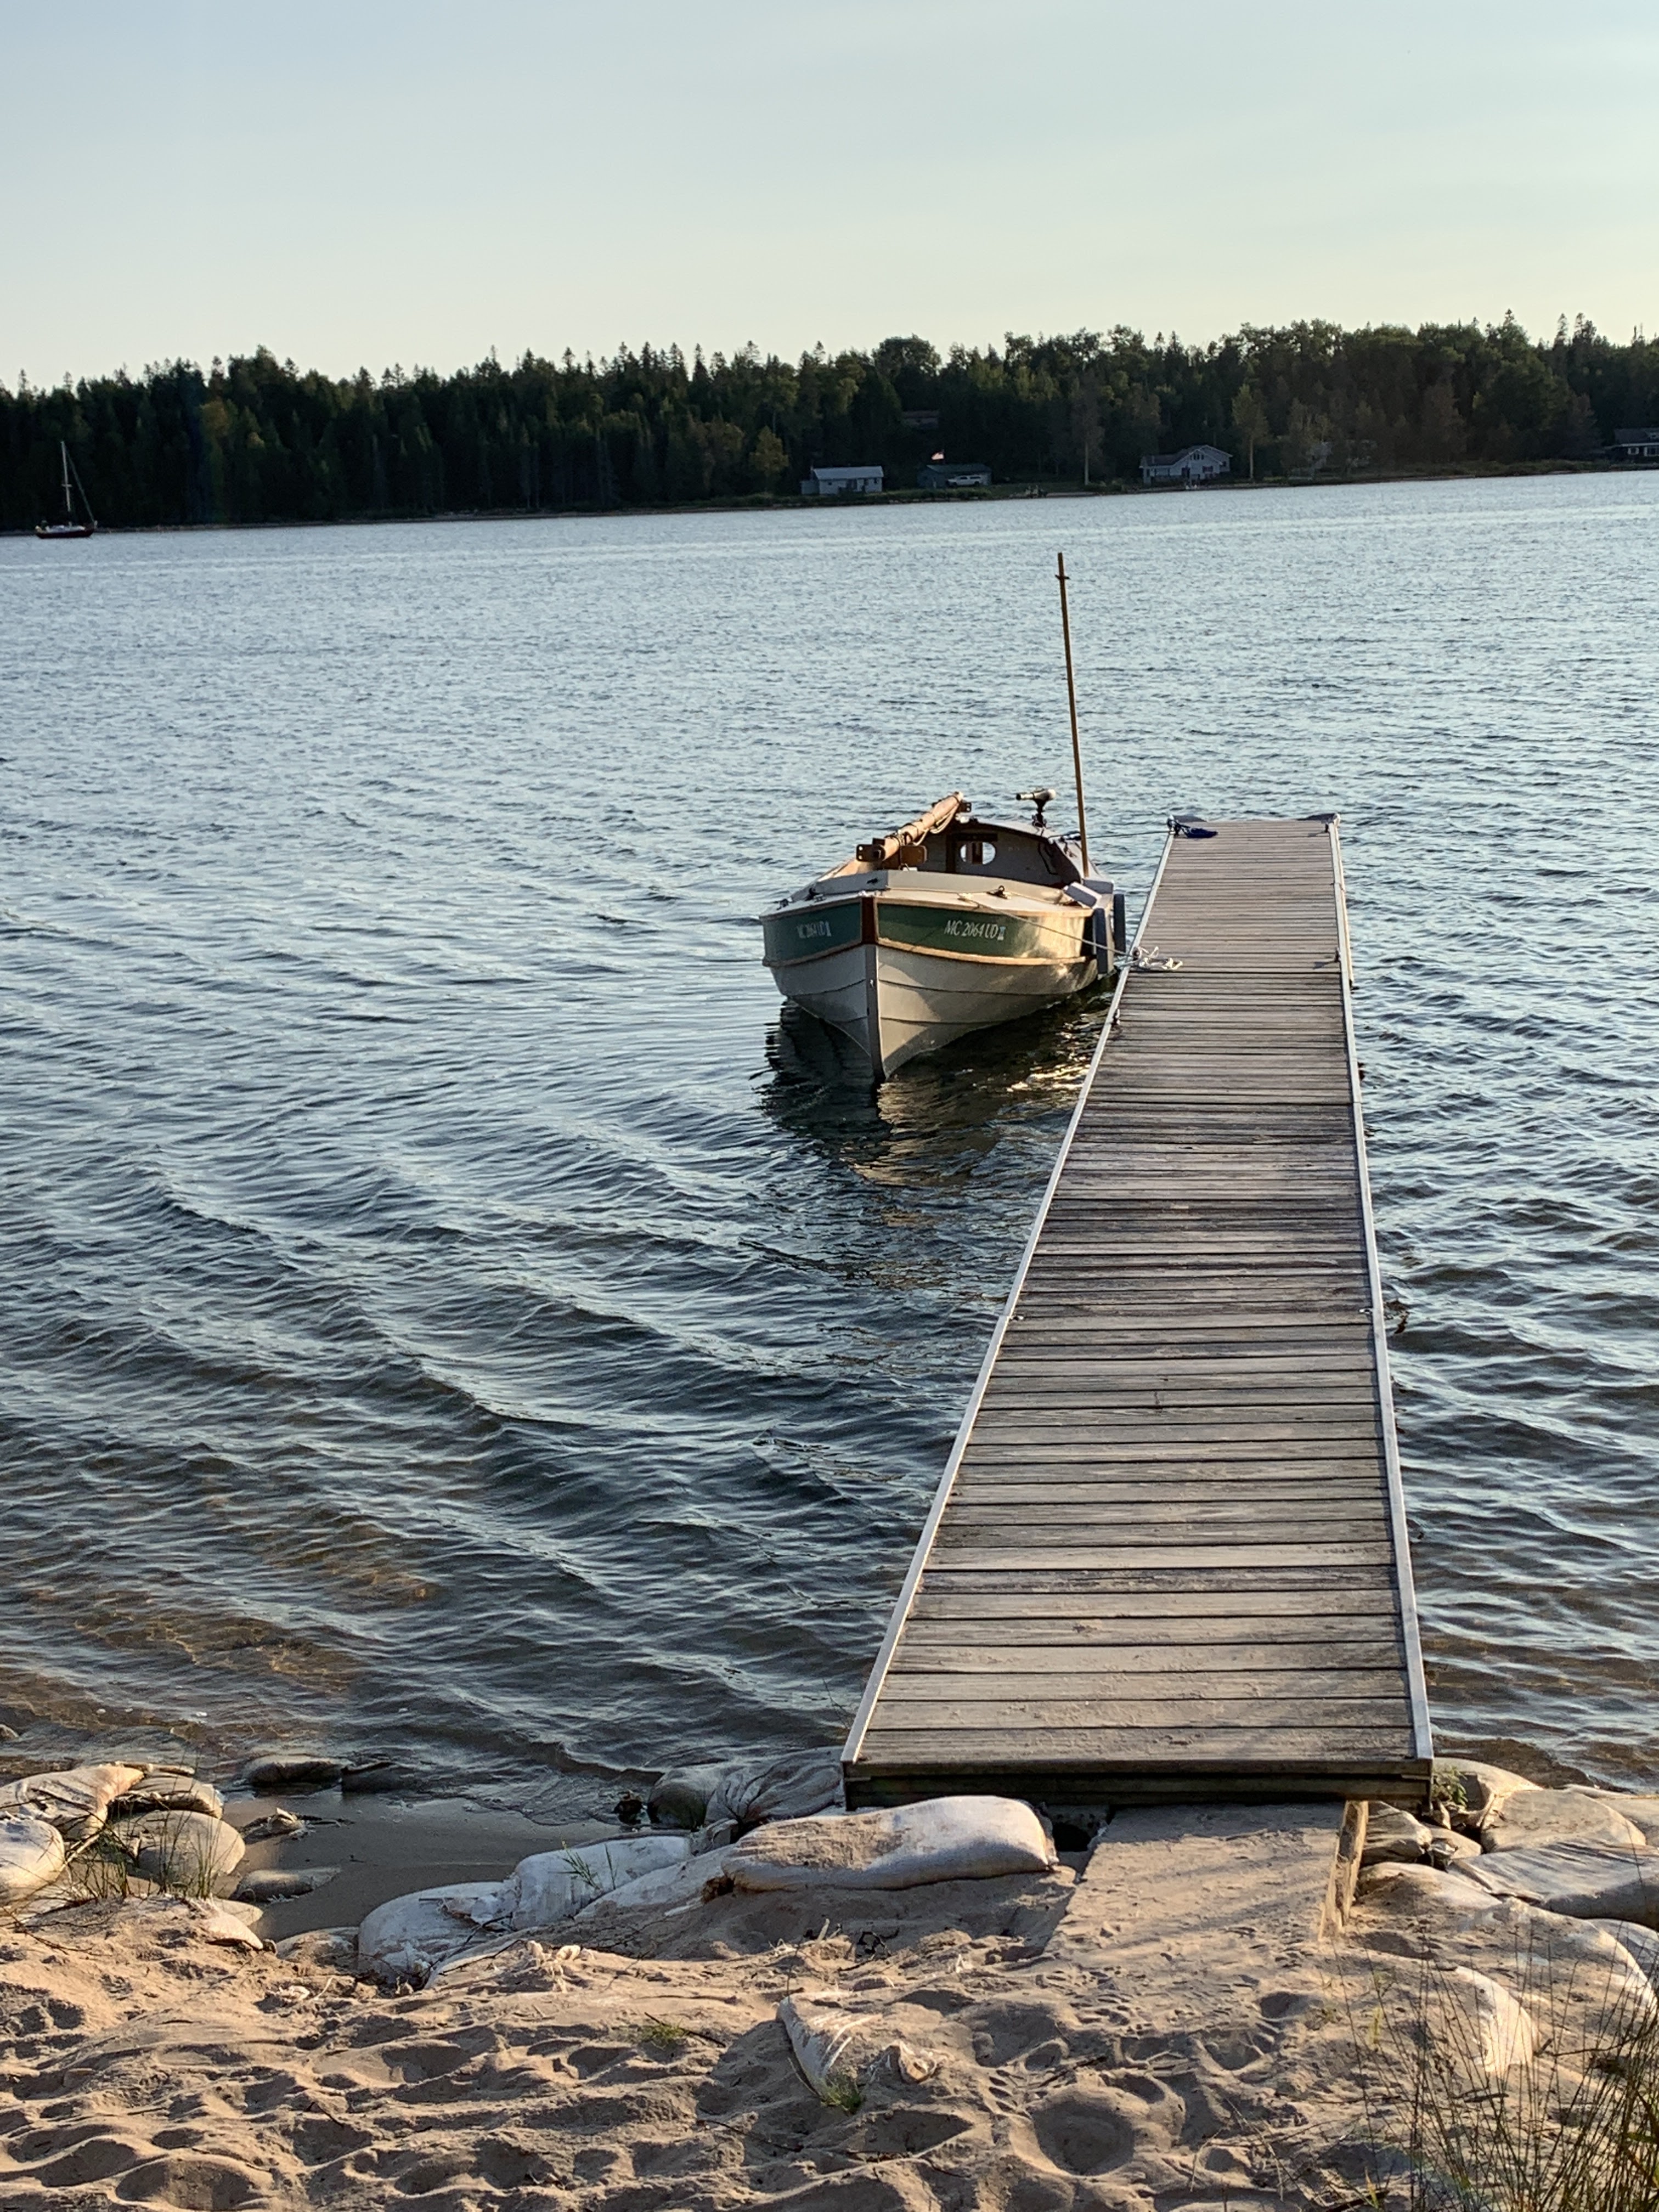
Monday afternoon we pulled into the parking lot at the boat ramp on McKay Bay. We decided I'd motor Gardens the quarter-mile across the Bay to the cottage, which meant we didn't need to step the masts or rig the boat at the ramp. Backing the trailer straight down the ramp the first try was a pleasant surprise (I'm not very good at backing - but apparently I'm getting better)! Gardens at the dock Monday evening:
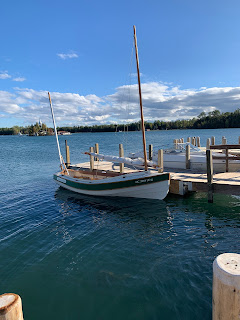
Tuesday morning we stepped the masts, connected all the bits of rigging, installed the rudder, and had a minor struggle fitting the tiller to the rudder head. I had reworked the tiller over the winter and, despite test fitting everything during that process, the tiller would not fit correctly. The issue turned out to be the rudder head not sitting properly on the pintles. The tiller was hitting the top of the opening in the transom. That minor struggle was frustrating but once resolved we went sailing!
Tuesday's sail was great! Light winds at the outset gave us the time to sort things out and become reacquainted with Gardens. By the time we were passing Port Dolomite, the winds had picked up a bit and the sailing, while not 'sporty,' was very good. The new mainsail from Really Simple Sails looked great and performed well! Just west of Strongs Island we met up with our friends Andy and Rose motoring their Express 35, Fraser, to visit us in McKay Bay. We enjoyed some close (but not 'too' close) sailing while we shared hellos and news. Andy and Rose spent the summer on Lake Superior so there was a lot of catching up to do. The wind picked up a bit more and by the time we returned to the dock we had an exciting downwind landing. The not-lowered-all-the-way centerboard served as a brake in the soft sand bottom alongside the dock. The rub-rail took a small hit (an off-season repair added to the list) but no other damage to Gardens or the crew. Andy anchored off the cottage in nine feet of water.
Wednesday morning I tweaked the rigging a bit: the lazy-jacks needed sorting out. By 11:00 we were underway on Fraser for a cruise to Government Bay, a bit over five miles by water from the cottage, for a picnic lunch and a hike. It was a beautiful day. We anchored just off a small sand beach and enjoyed our lunch on board Fraser. It was good to hear about Lake Superior, going through the locks at the Soo, and their other adventures. After lunch we dinghied to shore and set off on a 1-hour hike on a rustic trail. There are no-reservation first-come campsites on Government Island and I scouted a few for possible future boat/camping outings. The pictured beach and cove (not the beach we went ashore at) are near the south end of Government Island
Motoring back to the cottage was uneventful - Andy let me take the helm and, although I nearly took a wrong turn, we made it back to the cottage.
In the wee hours of Thursday morning the forecast rain began... and continued until 3:30PM. Heavy rains for over 12 hours dumped 12-15 gallons of water into Gardens' bilge. We had a similar bilge-water experience in 2019, and I thought I "fixed" that problem. Not so. I suspect the deck plates may leak - but it is difficult to understand how that much water could leak through the deck plates (I have since built a deck plate mock-up, fitted on a 5-gallon bucket to test the plate. After 10 minutes with the garden hose, the bucket had a little over a pint of water in it. Extrapolated over 12+ hours, the test results suggest that 12-15 gallons leaking through the two deck plates was not unrealistic.) Upgrading the deck-plates is on the off-season work list along with other chasing-leaks tasks. Fortunately, the centerboard pin does not leak!
Under clear skies early Friday morning, Andy and Rose weighed anchor and headed to the marina in Saint Ignace. After running errands that morning, Jan and I went sailing. The winds were brisk and the sail down McKay Bay toward Crow Island was great fun. As we approached Crow Island we were out of the lee of Strongs Island. The winds were stronger and we sailed into a swell and white caps. I made the executive decision to return up past Strongs Island and into McKay Bay. As we neared the dock, the wind diminished enough for me to drop the mail and motor to the dock in a civilized manner. Covering barely over six miles it was not an epic sail but it was a very satisfying sail. I posted the Relive animation of that sail to the John Welsford group on Facebook but cannot figure out how to imbed it or link to it in this format.
The drive home on Saturday was pleasant and uneventful - but, unlike most return trips, it seemed to take forever. We've already reserved the cottage for next August!